Best Solutions For Click and Drag Not Working Windows 10

What is the click and drag feature in Windows 10?

What is the Click and Drag Feature in Windows 10?

The “click and drag” or “drag and drop” feature of the Windows 10 operating system is a very commonly used feature. This feature allows you to click on any file, folder, or icon and drag it across your screen to drop wherever you want. Doing so lets you easily organize things on your computer. However, some users report their mouse click and drag not working properly. This issue arises mainly when you install a program or make an update that triggers certain setting glitches. Is your Click and drag not working? No need to worry. There are numerous solutions, some as simple as restarting your computer while others require a more thorough checking. The following procedures can easily resolve the issue.

Also check : How To Drag Click?

Click the Esc key

The initial solution you need to try is canceling the interface that may be interfering with the windows memory. The error may be occurring because of a previous click and drag operation interfering with Windows memory because of any other program interface. To fix this, you should left-click on the file or the desired folder that you wish to drag and simultaneously click your Esc key from your keyboard. Once you have tried this, try clicking and dragging to see if the feature is now working.

Do a Clean Boot

Performing a clean boot should also solve the issue. To perform a clean boot, you should follow the steps below:

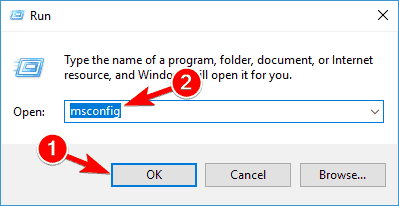
  • Click the Windows key and then the R key simultaneously. This will open the Run dialogue.
  • In this ‘Run’ pop-up window, type “MSConfig” and then click OK to proceed.

Clean Boot Step 1

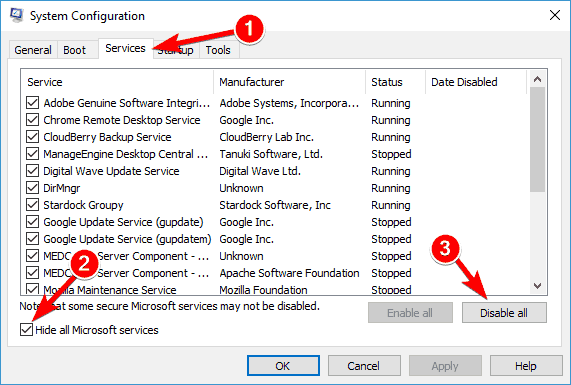
  • A ‘System Configuration’ window will open. Here, switch towards the Service tab.
  • Click on the “Hide all Microsoft service” and then click “Disable all”.

Clean Boot Step 2

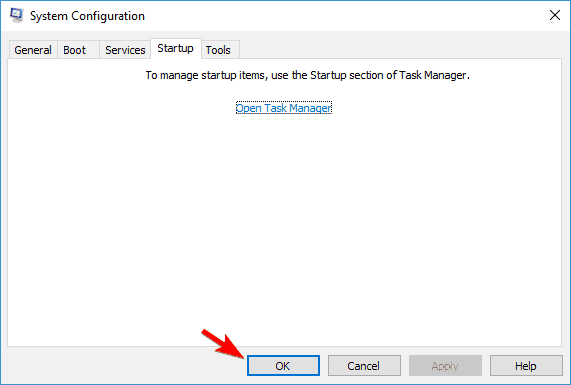
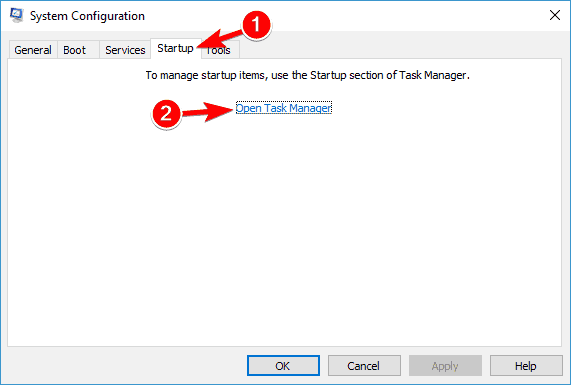
  • After this, open the Startup tab and go to “Task Manager”.

Clean Boot Step 3

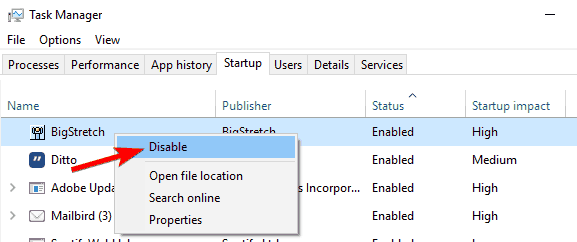
  • In the Startup tab in the Task Manager Window and click on “Disable”.

Clean Boot Step 5

  • Go back to the System Configuration window and then click on “Apply”. Then click on OK to apply the configuration.

Clean Boot Step 6

Disable UAC

The third method you can turn to in case of Click and drag not working windows 10 is to disable UAC. First press your Windows key and the R key together to open the Run dialogue. Here type “Regedit” in the box and click on OK. A Registry Edit Window will open and here navigate to the folder “HKEY_LOCAL_MACHINE\SOFTWARE\Microsoft\Windows\CurrentVersion\Policies\System” over here select “EnableLUA and double click on it. Change the value data to 0. Now reboot your computer and check the click and drag feature; it should be working.

Change the Drag Width and Height

Step 1: Open your Registry Editor window as mentioned in the steps mentioned before.
Step 2: On the registry window navigate to the folder “HKEY_CURRENT_USER\Control Panel\Desktop”.
Step 3: Select DragHeight and DragWidth in the right pane, and double click on the. Change their value data to a large number and then click OK.
Step 4: Lastly, reboot your computer and check if the feature now works.
The click and drag feature is indeed a very useful aspect of Windows 10.The aforementioned methods can help in case of your mouse click and drag not working.