If you’re a Chromebook user, you’d know how vague and incomplete built-in apps are. In Chromebook, many important applications were absent. One of these apps was a screen recording application. So, Chromebook users had to use some third-party app for screen recording. 

But now, the latest Chromebook 2021 is available with this feature and supports the built-in screen recording that you can use easily without needing to download a third-party app. This is a part of the latest Chrome OS update and hence works on every Chromebook if the device is updated to the latest version. 

If you’re here to learn how to screen record on Chromebook without a third-party app, we are here to help. Let’s not keep you waiting.

Screen Recording on Chromebook Without Third-party App

Screen recording on Chromebook is now convenient and quick using the device’s built-in feature. We will explain two different methods to access the screen recording feature to use one according to your convenience. Let’s explore these methods.

Method 1

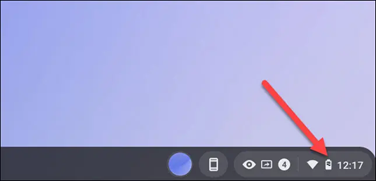
Open your Chromebook. On the bottom-right end, you will see the clock icon. Click on this icon, and the Quick settings panel will open up.

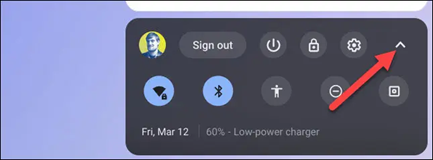
  • Then from the top-right end, select the arrow option to fully expand the menu if it isn’t already expanded.

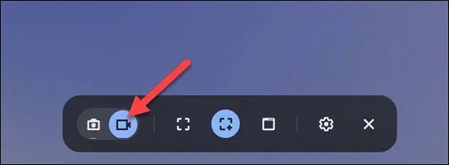
  • Now, click on the screen capture button. The picture of the icon is given below.

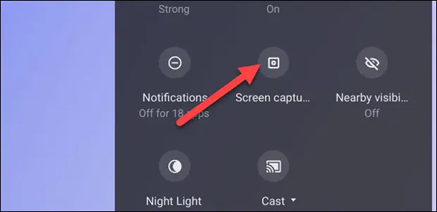
  • Once you’ve clicked this button, the Screen Capture toolbar will open at the screen bottom. From here, press the video icon for screen recording. If you select the camera icon, you can take screenshots on your Chromebook.

Also read: How to save images on Chromebook without right-clicking

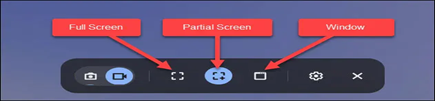
  • You can select several different ways to screen record your video. You can either choose partial screen, full screen, or even a specific window recording. Select the one you want to proceed ahead of.

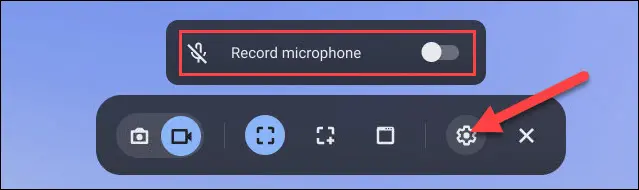
  • Before starting the recording, click on the gear icon. Here you can choose if you want to record the audio using the onboard microphone or not while recording the screen.

  • Way to start the screen recording vary based on the method you have selected. Here is how to start recording by using three different options. 
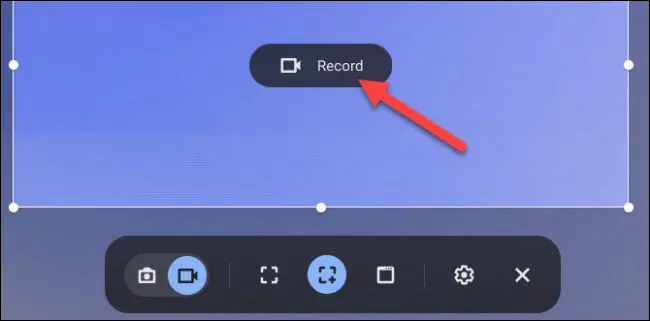
    • Partial Screen: To start recording, drag to choose the area you want to record, and once selected, press the “record” button.

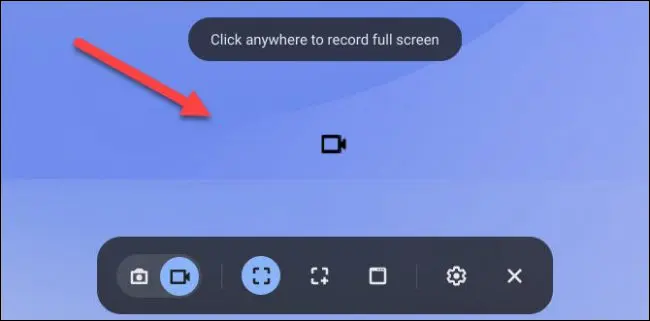
    • Fullscreen: To start recording, click anywhere on your device’s screen.

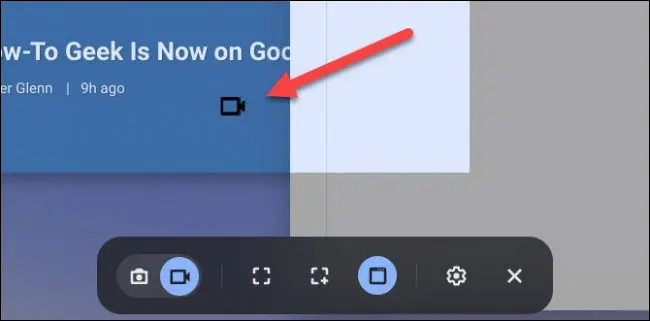
    • Window: To start the recording, choose the Window where you want to record.

Once you’ve selected the type of screen recording you want, a three-second countdown begins. You can see an on-screen countdown; your recording will start once it ends. 

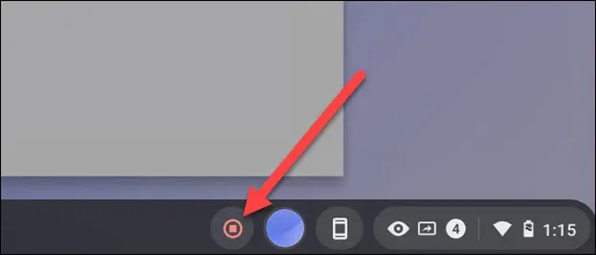
When you’re done recording what you had to, just click on the red stop button that appears on the Shelf. As soon as you click this button, the screen recording will stop, and the file goes to the download folder.

Method 2

This method is similar to the previous way for screen recording, but the process of opening the menu is different, i.e., through a shortcut. 

  1. Press the control, shift, and show Windows (a rectangle with two lines at the right end) together. This will open up a menu at the bottom of the screen. 
  2. From this menu, click on Screen record. Here you can choose partial, full screen, or Window recording. Once you press start, the recording will begin. 
  3. Once your recording is done, press the stop recording button. Your recording goes to the download folder of Chromebook.

How to Find the Screen Recordings on Chromebook?

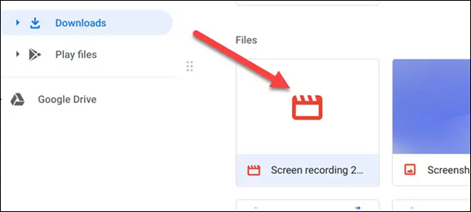
Like the screenshots on Chromebook, the screen recordings are also automatically saved to the device’s clipboard, where you may copy and paste them to any other program or application you want. Nevertheless, the recordings are also saved in the videos folder. Follow these steps to open your screen recordings and view them. 

  • When the recording is complete, you will see the “screen recording taken.” Then click on it to visit the video file in the “downloads folder.”

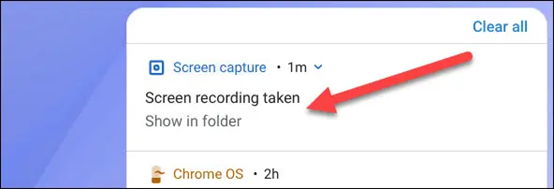
  • On pressing this, the folder will open. Here you can select the video to watch it, delete it, or save it to Google Drive. 

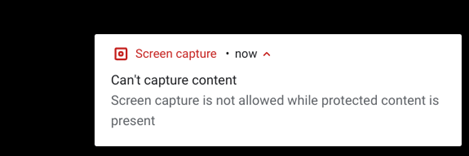
It is important to note that screen recording won’t work with all apps on your Chromebook. Apps that are protected like Amazon Prime or Netflix. In this case, you will get an error message “can’t capture content” in the notification bar.

Why is Chromebook Not Saving Screen Recording and Screenshots?

As seen in the method above, Chromebook will automatically save your screen recordings to the downloads folder as set by default. However, it is possible that your recordings aren’t being moved to the downloads folder; your Chromebook could have less storage. 

To check your device storage, follow these steps.

  • Go to settings and then open the device. 
  • From here, go to storage management to check the storage status of your device. 
  • Freeing up some space can help resolve the issue. So, free up some space on your device, then try screen recording again to see if the video is saved.

Why Can’t I Locate the Screen Recording Tool?

We have mentioned at the very start that the latest Chrome OS supports the screen recording tool that can be accessed and used by the method given above. If your screen recording tool isn’t working, you may need to update your Chromebook to the latest version. Here’s how you can do this. 

  • Go to Settings on your Chromebook. 
  • Then go to “About Chrome OS” and then click on “Check for updates.”
  • If you find an update, restart the device once the update is complete.

Verdict

The built-in screen recording tool is a simple, great, and amazing way to make screen recordings on your Chromebook. Previously you had to download a third-party app to record the screen. Now, you just need to follow the method given above to screen record on your Chromebook.

FAQs

You can do screen recording in accordance to your requirements. The available options are full screen, window recording and partial screen recording.

If you want to go for other screen recording apps for your chromebook then here are some of the best among them.

  • Loom
  • Openvid Screen Recorder
  • Clapboard
  • Screencastify

We cannot compare them. Both of them are helpful and convenient on their own. Infact, third party screen recording apps will give to vast features.